Create logo
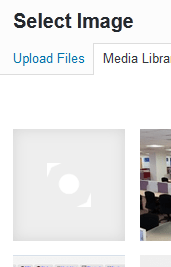
Go to Dashboard > Appearance > Customise, it will take you to the "Customise" page. Scroll to "Site title/tagline/logo" section, click on it to expand it, you can change the texts in the textbox to what you want the name of your site title to be. To change the site logo, click the "Select Image" button under "Upload your logo" section, it will pop the "Select Image" dialog, select the Media Library tab, select the logo image,

Click the "Choose Image" button.
Create favicon
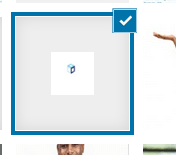
Scroll to "Site Icon" section, click the "Change Image", it will pop the "Select Image" dialog, select the Media Library tab, select the favicon image,

Click the "Choose Image" button. Click on the "Save & publish" button. Click the "X" button to go back to the dashboard page.
You can preview your homepage by clicking Briltech > Visit Site.

Go back to the Dashboard page by going to Briltech > Dashboard.
What Is Next?
Step by Step
This tutorial is part of a series that walks you through creating your first website or blog using WordPress.
Next Step - 6. Creating rows/sections for adding widgets on the home page
Previous Step - 4. Add home page and blog page to the WordPress website
Start from the beginning - Create your first website or blog using WordPress